If you have ever tried to update your Aadhaar card details and wanted to avoid long queues at enrolment centres, SSUP is the answer. The SSUP portal is a simple, government-approved online platform that lets every Aadhaar holder in India update their personal details from the comfort of home. This guide covers everything you need to know about the SSUP UIDAI portal — what it is, how to use it, what documents you need, and how to track your request after submission.
What Is SSUP?
SSUP stands for Self Service Update Portal. It is an official digital service launched and managed by UIDAI — the Unique Identification Authority of India. The SSUP portal allows Indian citizens to update demographic details on their Aadhaar card entirely online, without any physical visit to an Aadhaar centre.
Before SSUP was introduced, every Aadhaar correction required a trip to an enrolment centre, a long wait in queue, and sometimes weeks before the change reflected on the card. SSUP replaced all of that with a fast, secure online process that usually completes within 7 to 30 working days.
The official URL for the SSUP portal is: https://myaadhaar.uidai.gov.in/ssup
Always make sure you are visiting the .gov.in domain before entering your Aadhaar number or any personal details. Fraudulent websites mimicking the SSUP portal have been reported online. Never access the portal through unknown third-party links.
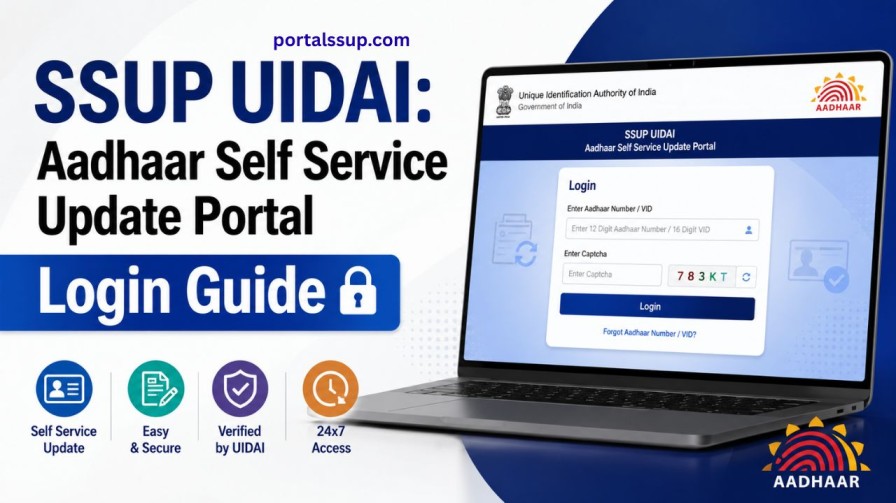
How to Use the SSUP Portal: Step-by-Step
Step 1: Open the Official SSUP Portal
Go to https://myaadhaar.uidai.gov.in/ssup in your browser. Check that the URL starts with https and a padlock icon is visible in the address bar. This confirms you are on the official, secure government website.
Step 2: Log In with Your Aadhaar Number
On the login page, enter your 12-digit Aadhaar number. Fill in the security captcha exactly as shown — it is case-sensitive. Click the “Send OTP” button.
Step 3: Enter the OTP
A One-Time Password will arrive on your registered mobile number within a few seconds. Enter the OTP in the verification field. OTPs are usually valid for 10 minutes, so proceed quickly. After entering the correct OTP, click “Login” to reach your dashboard.
Step 4: Select the Update Option
Once inside the dashboard, you can see your existing Aadhaar details. Click on “Update Demographics Data.” A form will open displaying your current name, address, date of birth, gender, and contact details.
Step 5: Edit and Upload Your Document
Carefully update only the field that needs correction. Do not change any information that is already accurate. After entering the corrected details, the portal will prompt you to upload a supporting document. Select the correct document type from the dropdown menu and upload a clear scan. Blurry images and documents with cut-off corners are among the most common reasons for request rejection.
Step 6: Review Everything and Pay the Fee
Before proceeding to payment, go through everything one more time. Confirm that the details entered in the form match exactly with what is shown in the document you are uploading. Even a small spelling difference can lead to rejection. Once you are satisfied, proceed to the payment gateway and complete the Rs 50 payment.
Step 7: Save Your Update Request Number (URN)
After successful payment, the SSUP portal generates a unique Update Request Number. This URN is essential for tracking the progress of your update. Save it by taking a screenshot or writing it down. UIDAI will also send the URN to your registered mobile number via SMS.
How to Update Mobile Number on Aadhaar via SSUP
Updating your mobile number through the SSUP portal follows the same steps described above, but with one critical condition: you must have access to the mobile number that is currently registered with your Aadhaar.
If you have access to your old registered number, log in using the OTP, navigate to the demographics update section, update the mobile number field with your new number, upload a Proof of Identity document, and pay the Rs 50 fee. You will receive a confirmation SMS on your new number once the request is submitted successfully.
If you have lost access to your previously registered mobile number, the SSUP online process will not work for you. In this case, visit your nearest Aadhaar Enrolment Centre or Aadhaar Seva Kendra with your original identity documents. The centre staff will update your mobile number using biometric verification.
Valid Documents Accepted on the SSUP UIDAI Portal
Submitting the right document is one of the most important steps in the SSUP process. Here is a clear breakdown of accepted documents for each update type.
For Name Updates (Proof of Identity): Passport, PAN Card, Voter ID (EPIC), Driving Licence, Government or PSU-issued photo ID card, NREGS Job Card, and Kisan Passbook with photograph.
For Address Updates (Proof of Address): Passport, Bank Statement or Passbook, Post Office Account Statement or Passbook, Ration Card, Voter ID, Driving Licence, Government-issued address certificate, Utility bills not older than 3 months (electricity, water, gas, or telephone), Property tax receipt, and registered rental or lease agreement.
For Date of Birth Updates (Proof of Date of Birth): Birth Certificate issued by a municipal authority, SSLC Certificate or Marksheet, Passport, PAN Card, or Central and State Government-issued Date of Birth certificate.
One practical tip from those who have gone through the process: the name and details on your uploaded document must match exactly with what you enter in the update form. Even abbreviations like “Mohd.” versus “Mohammad” can get your request rejected. Always use the exact spelling as printed on your supporting document.
For the most current and complete list, visit the official UIDAI website at https://uidai.gov.in.
How to Track Your SSUP Aadhaar Update Status
After submitting your update request, you can monitor its progress online at any time.
Visit https://myaadhaar.uidai.gov.in/check-status and enter your Update Request Number (URN) in the search field. Complete the captcha and click “Check Status.” The portal will display the current state of your request.
There are three possible statuses:
“Under Verification” means your request has been received and UIDAI officials are reviewing it. “Approved” means your correction has been accepted and an updated Aadhaar will be dispatched to your registered address via India Post. “Rejected” means the update was not approved, usually with a reason — such as a document mismatch, poor image quality, or use of an ineligible document type.
If your request is rejected, you can resubmit it on the SSUP portal with the correct document. The Rs 50 fee will apply again for the new submission.
Processing times vary depending on the type of update. Name and address updates are typically completed within 15 to 30 working days.
How to Download Updated e-Aadhaar After SSUP Approval
Once your SSUP update is approved, you do not need to wait for the physical Aadhaar card to arrive by post. You can download the updated e-Aadhaar immediately.
Visit https://myaadhaar.uidai.gov.in and click “Download Aadhaar.” Enter your 12-digit Aadhaar number and the captcha, then click “Send OTP.” After entering the OTP, your e-Aadhaar will download as a password-protected PDF.
The password to open the file is the first four letters of your name in capital letters followed by your year of birth. For example, if your name is Rohit and you were born in 1990, the password would be ROHI1990.
The e-Aadhaar is legally equivalent to the physical Aadhaar card and is accepted at banks, government offices, and all official institutions across India.
UIDAI Helpline and Support for SSUP Issues
If you face any technical problem while using the SSUP portal, or if your request status seems stuck or unclear, UIDAI has a dedicated support system available to all citizens.
The toll-free helpline number is 1947, available 24 hours a day, 7 days a week, from any mobile or landline across India.
You can also send an email to the official UIDAI support address at help@uidai.gov.in with your URN and a clear description of the issue. Email responses typically take 2 to 5 business days.
You may also raise a grievance through the myAadhaar portal’s built-in grievance section if your concern is specifically about a pending or rejected update request.
Frequently Asked Questions
1.What is SSUP in Aadhaar?
SSUP stands for Self Service Update Portal. It is the official online platform operated by UIDAI that allows Aadhaar holders to update their demographic information without visiting an enrolment centre.
2.Is the SSUP portal free to use?
The portal is free to access, but each update request carries a non-refundable processing fee of Rs 50 inclusive of GST. This fee applies even if your request is rejected.
3.How many times can I update Aadhaar through SSUP?
Name can be corrected a maximum of two times. Address can be updated multiple times. Date of birth can only be corrected once in a lifetime.
4.Can I update two fields in one SSUP submission?
In most cases, each submission handles one field at a time. If you need to update both your name and address, you will need to make two separate requests and pay Rs 50 for each.
5.How long does it take for an SSUP update to be processed?
Most updates are processed within 7 to 30 working days. The exact time depends on the type of change and the document verification workload at UIDAI.
6.What happens to my old Aadhaar after an SSUP update?
Your old physical card becomes outdated once the update is processed. Download the updated e-Aadhaar from the myAadhaar portal after approval. If you want a new physical PVC card, it can be ordered from UIDAI’s website for an additional Rs 50.
7.Can I update biometric details through SSUP?
No. Biometric data such as fingerprints, iris scans, and photographs cannot be updated through the SSUP online portal. You must visit an Aadhaar Enrolment Centre in person for any biometric update.